Skip to main content
STEP 1 (Setting Up an Electronic Device)
All you need to begin online music lessons is some sort of electronic device — a laptop or tablet works best, but a smartphone is also an option. After enrolling in the studio, we will set up an initial online interview to allow the opportunity for any questions you may have. We will also go over the basics of Zoom to help you feel comfortable with the online setup.
STEP 3 (Start Lessons!)
You now know how to utilize Zoom for online music lessons! If you run into any technical questions, please reach out to us right away and we will be glad to help you.
If you want to see what this looks like in action, this video does a great job showing how to set up an online music lesson.
STEP 2 (Starting a Zoom Meeting)
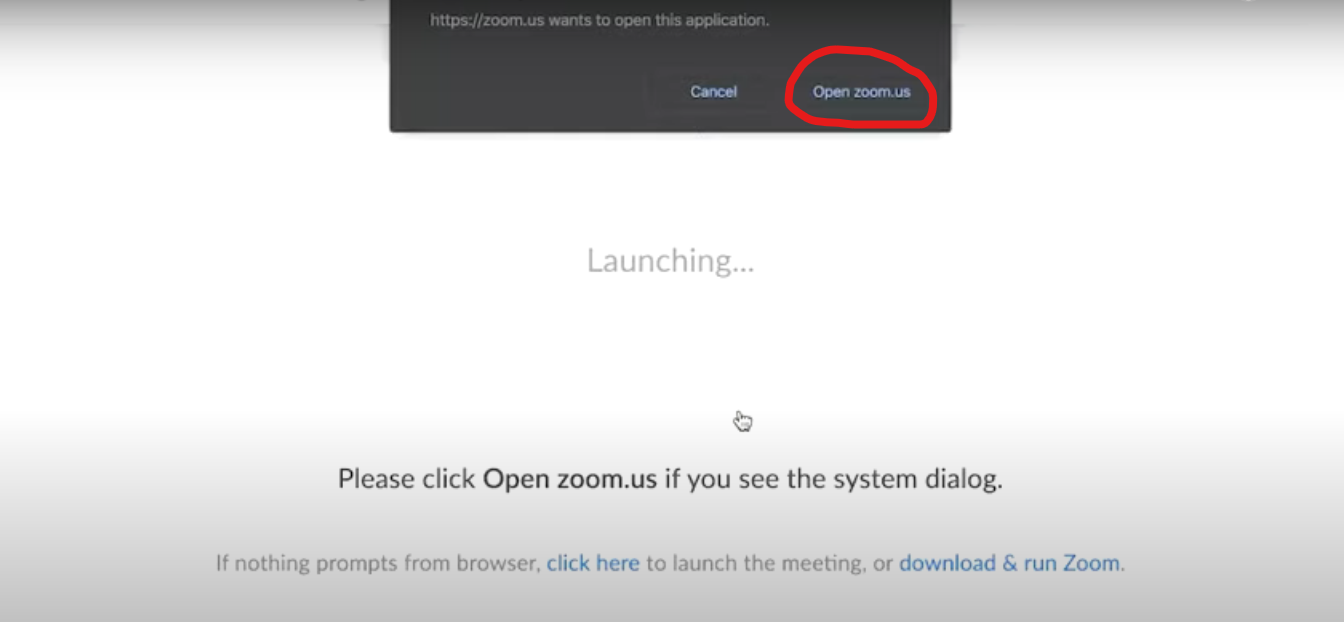
After scheduling the interview, we will email you a link to access Zoom. When the day and time of the interview arrive, simply click on the link in our email and you will be taken to the Zoom website. When prompted, select “Open zoom.us” to open the Zoom application in your web browser.
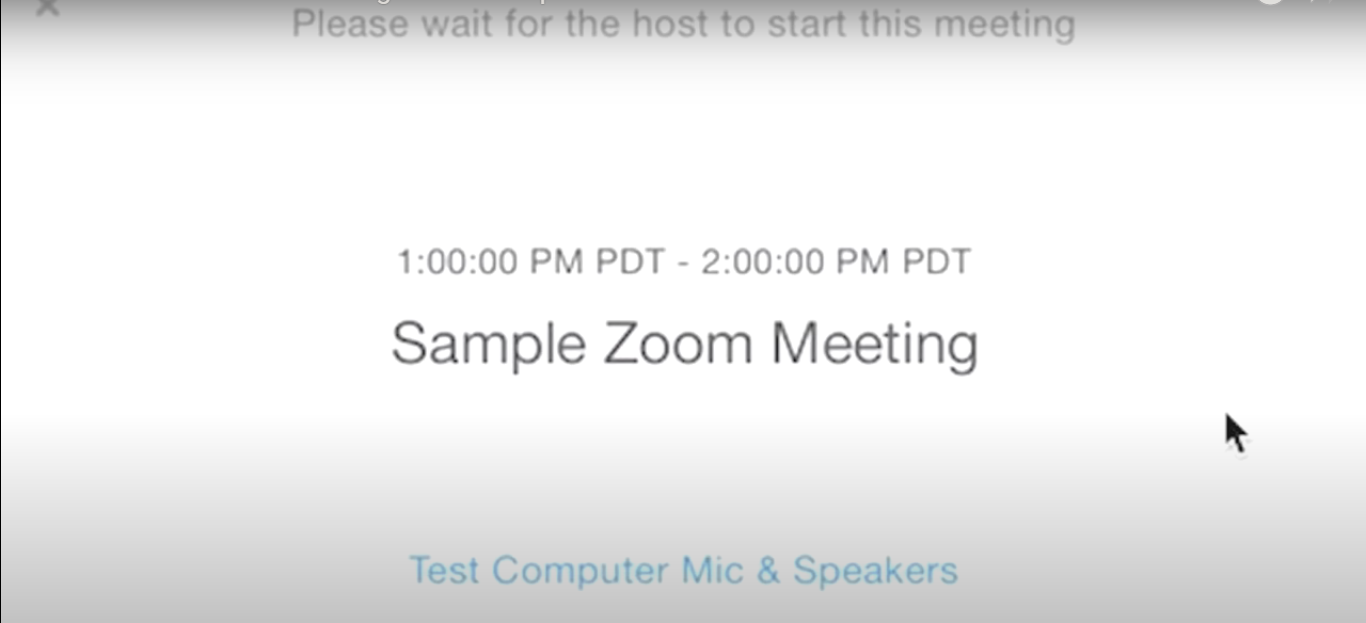
If joining early, you will see a prompt that says “Please wait for the host to start this meeting” while you wait for us to begin the interview.
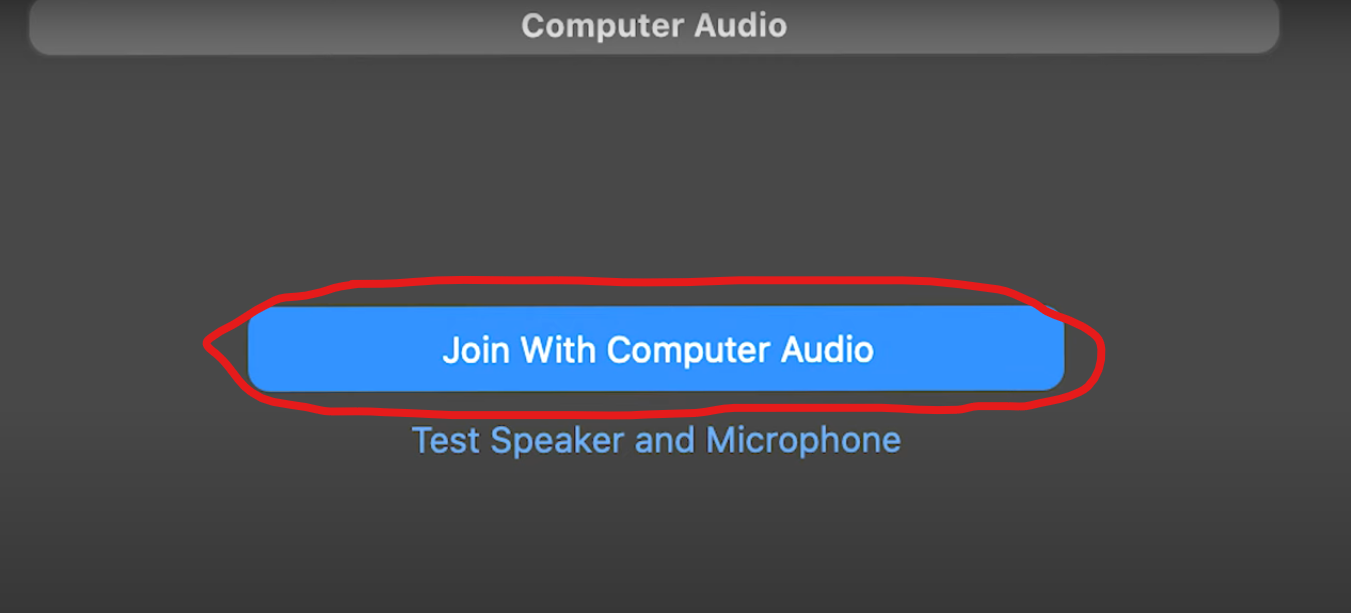
Once the meeting starts, select the option “Join With Computer Audio” to enable us to hear you and vice versa. During the meeting, you will have access to a mute button and video settings button in the bottom left corner (these enable you to mute your microphone or turn your camera off at any point).
If you need visual guide, check out this excellent video for more info on how to join a Zoom meeting.